Command-line setup
The CLI has four commands: doctor checks that the local environment can run an
application, demo launches a known-good one against a live Python process,
init scaffolds a starter project, and record writes an application out as
static files you can host with no backend behind them.
Diagnose the environment
The command checks:
- the supported Python version and installed WebAppKit distribution;
- the packaged frontend JavaScript and Web SDK WASM bundle;
- ImFusion SDK import, OpenGL initialization, feature modules, and algorithm discovery; and
- whether
127.0.0.1:8000is available.
Use another address when the application will run elsewhere:
A failed check returns a non-zero exit code and includes a suggested next step. License validity cannot always be established without executing a licensed algorithm, so the command complements rather than replaces an application smoke test.
Launch the bundled demo
This starts the packaged webapp_demo with a small bundled NIfTI image and
opens http://127.0.0.1:8000. It demonstrates parameterized actions, progress,
sample data, application information, and export.
This starts the packaged workflow_demo guided workflow instead.
Options:
imfusion-webappkit demo --host 0.0.0.0 --port 8080
imfusion-webappkit demo --no-open
imfusion-webappkit demo --workflow --no-open
Record a static demo
This drives an application once while building and writes a directory that any
static host can serve, with no Python behind it. demo runs an application;
record publishes one. See Recorded static
demos for what can be recorded and how to describe it.
Options:
imfusion-webappkit record my_demos.showcase:spec -o dist/showcase
imfusion-webappkit record demos/threshold.py -o dist/threshold --title "Image Tools"
imfusion-webappkit record demos/threshold.py -o dist/threshold --skip-client-build
Create a starter project
The generated project contains:
my-demo/
  .claude/
    skills/
      work-with-imfusion-images/
        SKILL.md
  .cursor/
    skills/
      work-with-imfusion-images/
        SKILL.md
  AGENTS.md
  CLAUDE.md
  app.py
  algorithm.py
  pyproject.toml
  README.md
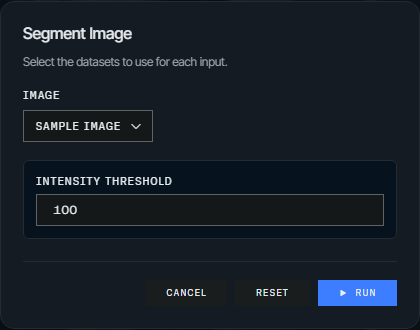
The default --template simple starter is a button, the parameters you
declared, and your function behind them, with the application configuration
kept separate from the processing function and a browser-editable intensity
threshold standing in for it. AGENTS.md, CLAUDE.md, and the Cursor and
Claude Code project skills give coding agents the non-obvious session,
threading, image-value, and geometry conventions, and the MONAI starter adds a
model-integration skill on top. To run it:
The registered action collects the declared parameter and the selected input:
When init runs from an editable WebAppKit source checkout, the generated
pyproject.toml automatically points uv at that checkout. Released
installations use the normal imfusion-webappkit package dependency.
The generated app.py uses the DARK theme unless --theme gray or
--theme light is passed. --title still sets the browser title; otherwise
it is derived from the destination name.
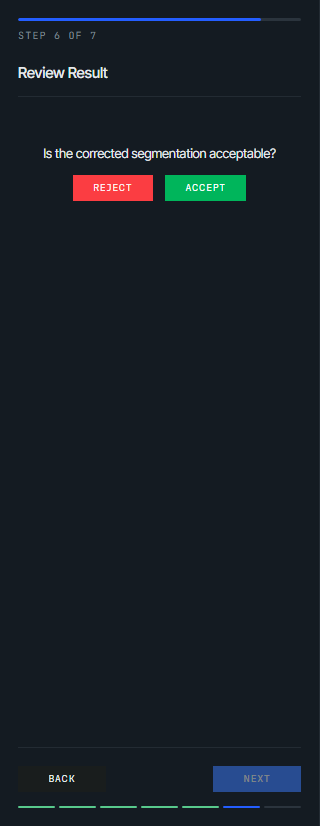
Create a guided load, configure, process, review, and export workflow instead:
The workflow template uses the same app.py and algorithm.py separation, but
connects the processing callback to MessageStep, InputSelectionStep,
ParameterStep, ProcessingStep, ValidationStep, and ExportStep.
Create a direct PyTorch/MONAI model-inference example instead:
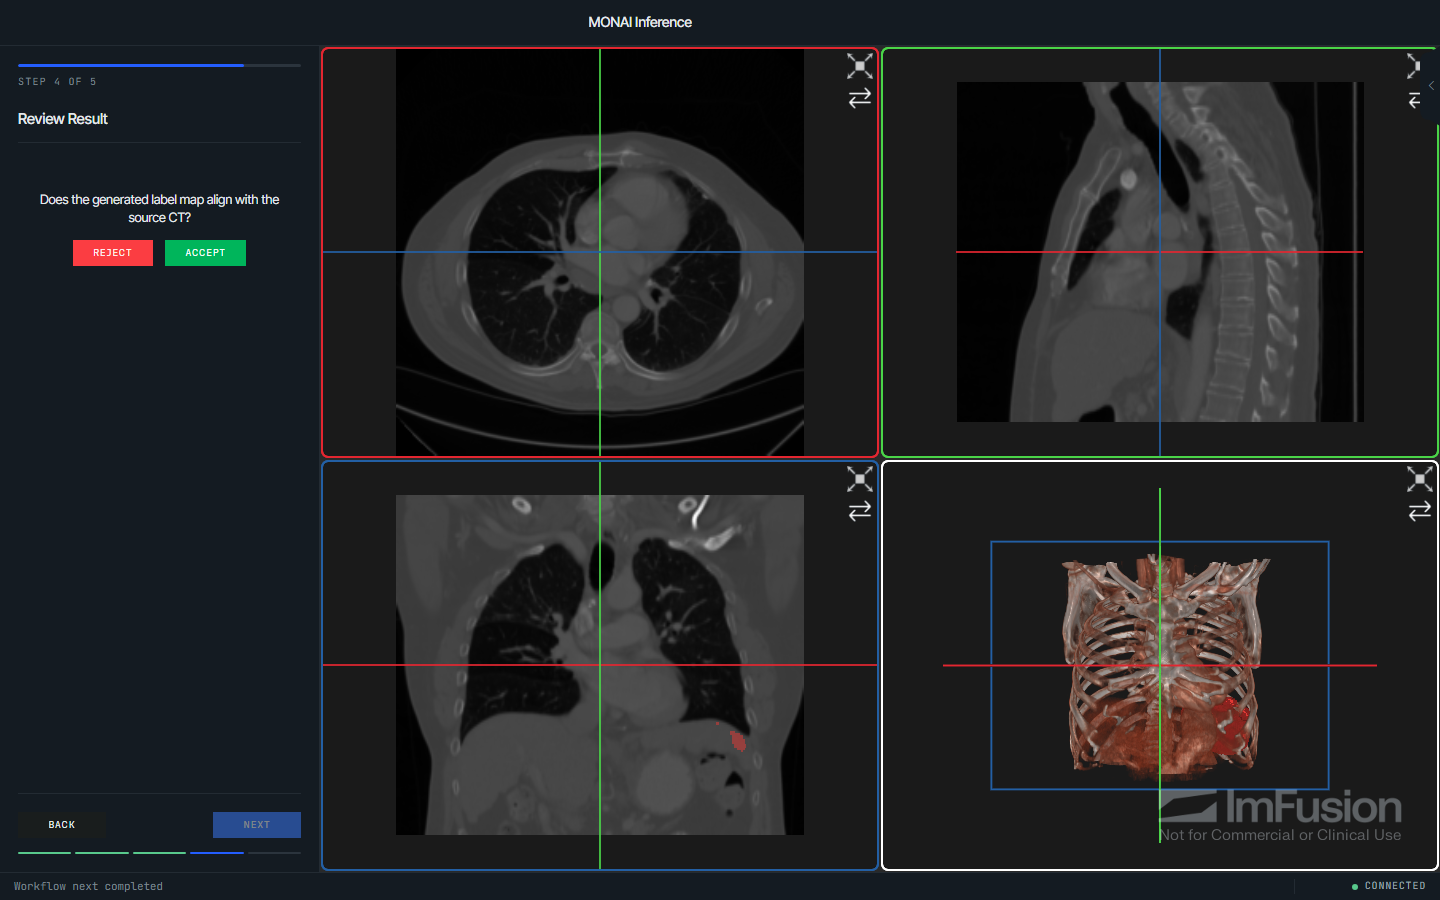
The MONAI template demonstrates conversion between ImFusion and MONAI image layouts, geometry-aware preprocessing and postprocessing, sliding-window inference, and publication of an aligned label map. It starts with a concrete Model Zoo bundle that can be replaced with another compatible model. The pinned bundle is downloaded automatically on first use into MONAI's shared per-user cache. MONAI and PyTorch are dependencies of the generated project, not WebAppKit itself.
Its workflow contains introduction and loading steps, an explicit
InputSelectionStep, manually triggered processing, review, and export.
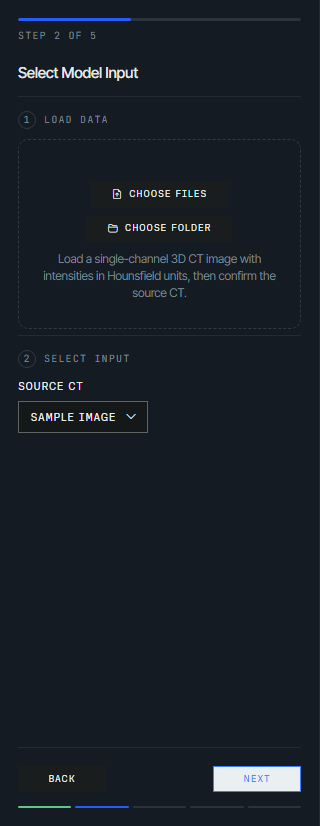
Inference starts only after the user chooses the source volume and clicks Run Segmentation, so repeat runs remain tied to the source rather than a previously generated label map.
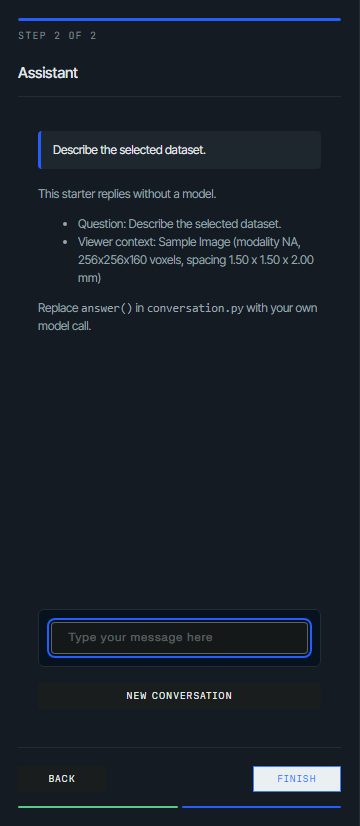
Create a conversational assistant prototype instead:
The chat template answers questions about the datasets selected in the viewer
using a CustomStep panel, with a placeholder reply function and no model
provider dependency. Replace answer() in conversation.py with your own
model call. Replies run on the shared ImFusion owner thread, so give network
clients a short timeout; the panel is not streaming, and the transcript lives
only in the browser session.
The command refuses to replace existing template files unless --force is
provided. It never removes unrelated files from the destination.
All commands can also be invoked through the module entry point, for example: